The height of the studio directly affects the installation method and design layout of the lighting. Below, we will explain in detail the differences in lighting installation for studios with different heights:
1. Low rise studio (less than 3 meters)
Whatsapp:+86 134 1860 8878
In the case of high and low floors, the studio usually adopts single point fixed installation and tripod installation methods. The single point fixed installation method is low-cost and easy to install, but the position of the lighting fixtures cannot be moved. Tripod installation is suitable for both surface and side lighting, allowing for flexible movement of the lighting fixture. However, it is important to prevent the tripod from entering the mirror and passing through.
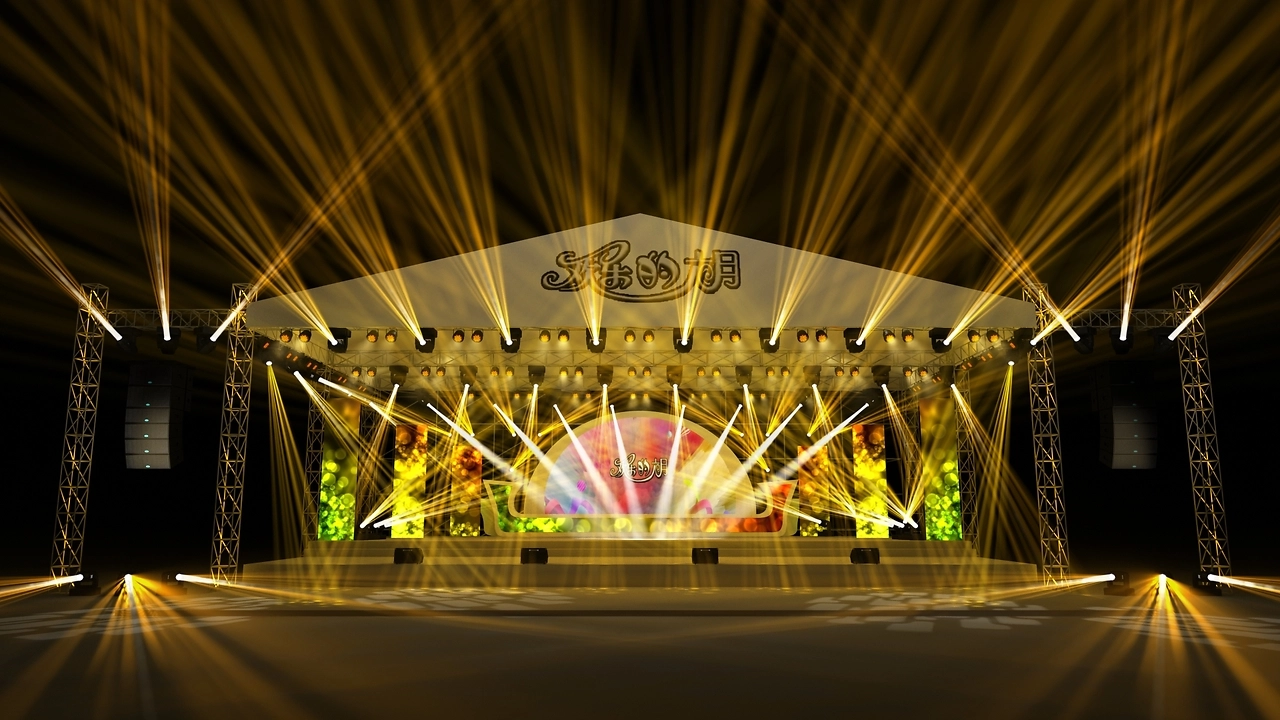
2. Medium height studio (3-5 meters)
A medium height studio with more flexible design. It can be installed using track type or grape rack type. The track installation is generally in the shape of an "I" or "Wang", and the lamps can move back, forth, left, and right on the track, with convenient dimming and high flexibility. The grape rack installation is to hang the lamps with hooks on the grid nodes, and arrange the lamps in a regular manner according to the spatial shape and functional area of the studio, which is convenient for planning the lighting area and is more suitable for large studios.
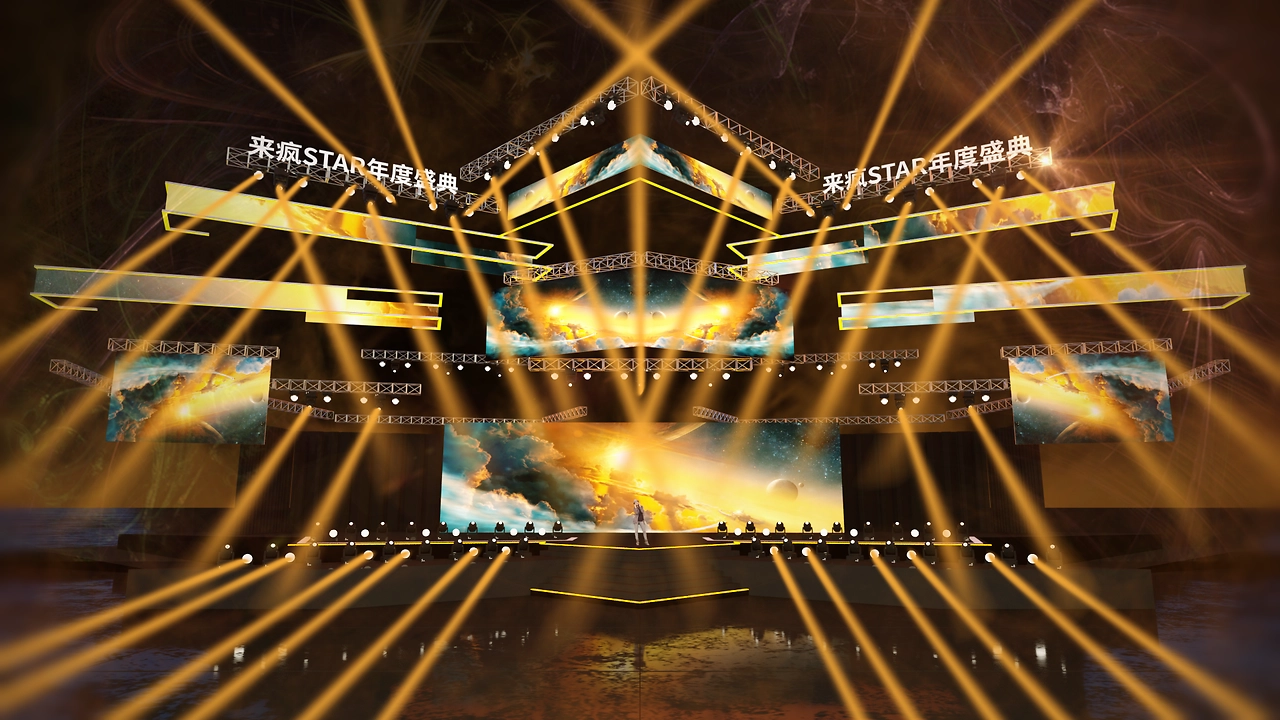
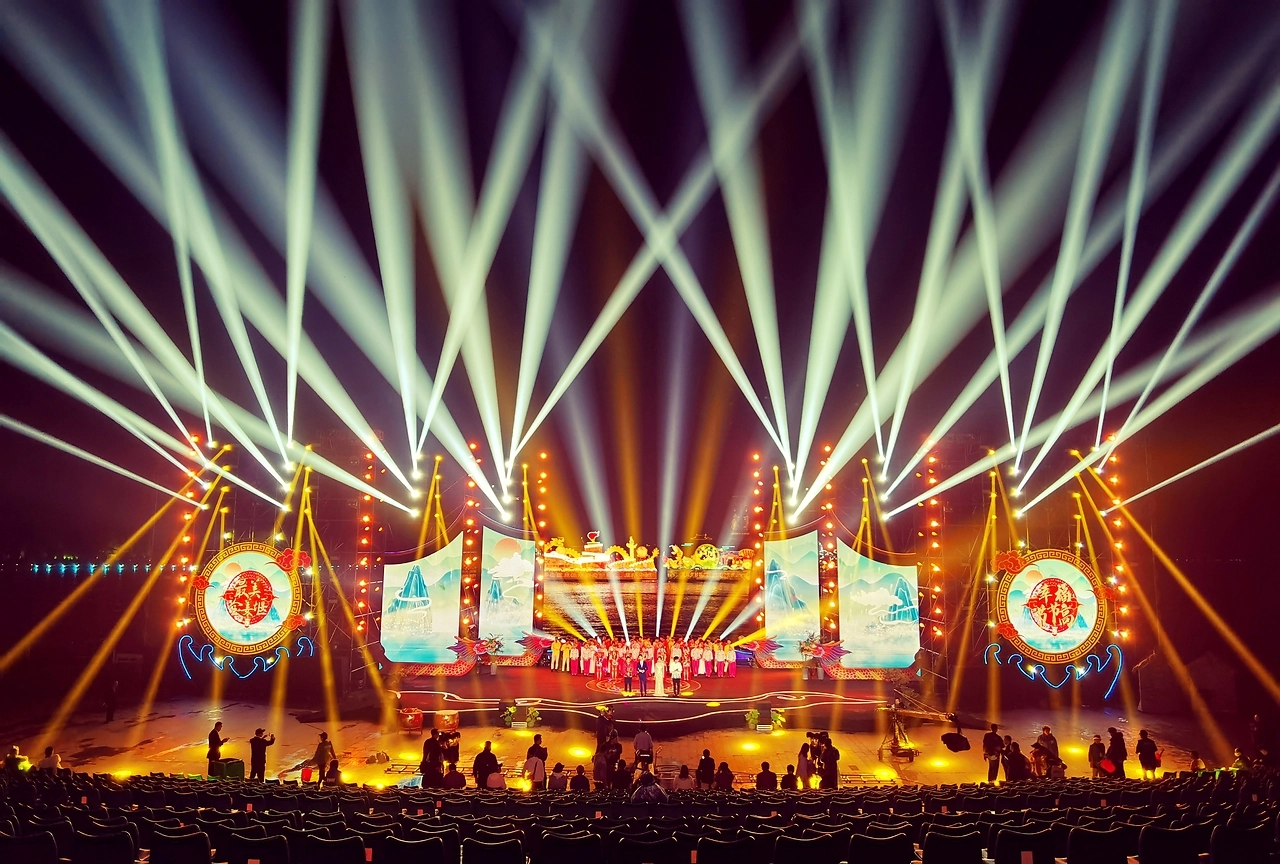
3. High rise studio (over 5 meters)
Whatsapp:+86 134 1860 8878
High rise studios usually use multifunctional horizontal suspension rods to hang lighting fixtures, with a length of 4 to 6 meters, making it convenient to hang various lighting and effect equipment. In order to meet the lighting requirements of different heights, horizontal suspension rods are used